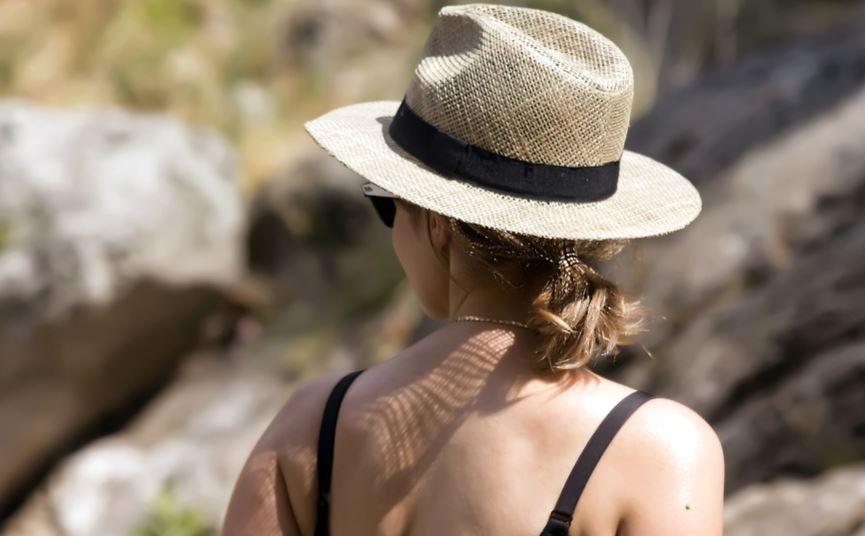
Do you know How to Make a Straw Hat?
Straw hats are a thing, and if you are the crafty and creative type and are interested in knowing how to make your own straw hat, then we welcome you! Using the right tools and following a few simple instructions, you too can learn how to make a straw hat.
Straw hats are super lightweight and fun to wear, and though we usually see them being used during the summer to go to the beach, you can also wear them to have fun while under the sun or add a touch of style to your summery outfit.
Brief History of the Straw Hat
Straw hats aren’t exactly a new thing, their design may have evolved a bit, but these have been around for many centuries.
Straw hats appeared in Shakespeare’s plays in the 1600s and editions of women’s fashion publications from the eighteenth century.
Straw hats were worn during the Victorian era. At the time, they were made from scratch using a technique called straw plaiting, in which straw or grass was cut, bleached, and then braided.
Straw braiding is one of the oldest arts practiced by humanity, many specimens having been found in the tombs of the ancient Egyptians.
In the Victorian era, straw, wheat, rye, and grass (hay) were used for straw hats. The grass was cheaper, but especially wheat straw was considered superior because of the color and pliability.
They were all people could talk about in the US, around the late 1800s, in the form of the Panama hat.
How to Make A Straw Hat
Tools:
- Measuring tape
- Pen and paper
- Graph paper
- Pencil
- Cardboard
- Scissors
- Tape
- Braided straw
- Seam ripper
- Needle and thread
Directions
Create your design
Put together the design for your straw hat on graph paper. You can base it on a historical design such as the Bergere hat or the Edwardian boater hat, or a modern straw hat for summer. Try to do it to a scale in which each graph paper square equals 1 inch.
Transfer your design to cardboard.
- Extend your design to cardboard. Extract the pattern pieces but to the proper scale.
- Tape all the pattern pieces together so you can check out the feasibility of your straw hat design.
- Make adjustments as needed.
Acquire straw braid
- Get the straw braid from which to make your straw hat. You can either buy rolls of straw braid, or your other option is to disassemble something existing, such as a placemat.
- If you choose to take apart a placemat, be careful that your seam ripper does not damage the straw braid itself.
Recommended Products To Make a Straw Hat
Braided Jute Rope Twine String for Crafts
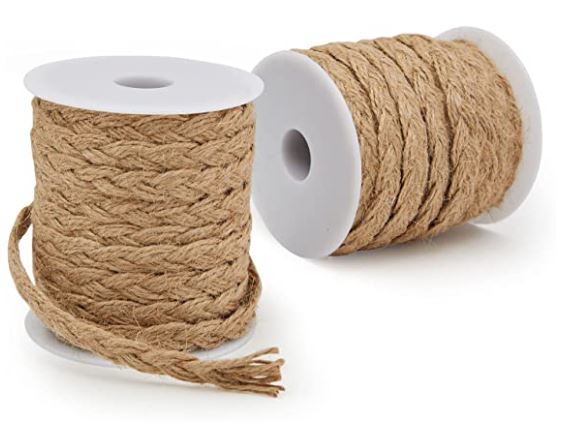
This farmhouse-style twine rope features an incredibly versatile fiber that is soft yet strong for long-term use. The brown string is ideal for various arts and crafts projects, home decor, gift wrapping, and gardening.
LaRibbons 0.47 inch Burlap Braided Hemp Rope

YANGQIHOME Natural Hand-Woven Water Hyacinth Placemats
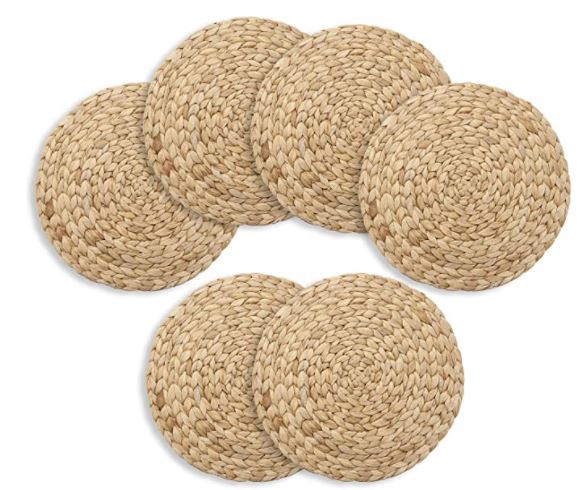
Natural Material: Made of 100% natural water hyacinth, compact and rigorous weaving provide durable quality and soft touch.
Straw Braided Placemats
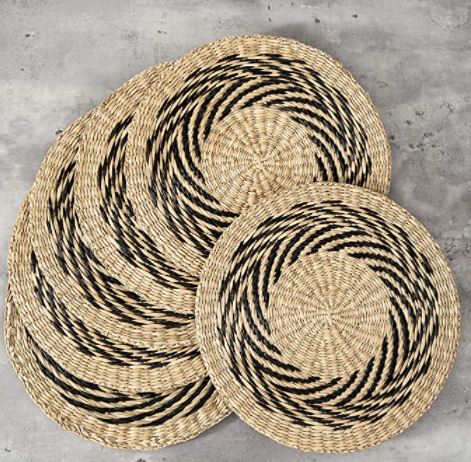
These placemats are imported 100% from Sustainably Grown Seagrass and completely crafted by the hands of skillful Asian artisans to ensure high product quality.
Proceed to sew
- Use the cardboard pattern pieces as a guide and begin to sew the straw braid together.
- Lay the straw braid flat and coil it around in a small, flat circle.
- Secure it in place with thread by sewing through the edges of the braid. Continue sewing the braid together, making a larger and larger circle, until it matches the crown pattern piece.
Sew the crown
- Sew plaits to the crown at a 90-degree angle.
- Continue working downward until you create the side panels.
- Fit the hat to your head as you make the straw hat to make sure it fits you.
Create the brim
- Work your way either from the outside of the brim to the hat opening or from the hat opening to the outside of the brim.
- Create all the individual pieces of the straw hat first and then sew them together with the raw edges and seams on the inside of the hat.
- Fit the brim’s opening to make sure you don’t make it too tight.
Final touches
- You can also sew the straw braid together to make your straw hat from one continuous piece instead of individual pieces are sewn together.
- Decorate your straw hat with ribbons or flowers, or both.
Making a Straw Boater Hat
The crown
- Pull a linen cord/string woven in on either side of the hat braid
- You can either glue or stitch straw into a 3/4″ tight circle.
- Cut the end of the straw at an angle to help hide the cut end.
- Press Flat with a steam iron.
- Glue two flat strips of hat braid together lengthwise.
- Glue the second strip not on edge but halfway covering the second strip.
- Barely glue the edge
The brim
- Pull the cord again as in step one
- Curl, by pulling cord approx. 7 – 8″ worth of straw
- Leave a hole in the center that is approx. 5/8″
- Curl around and around, gluing each subsequent layer just barely 1/16″ over the edge of the layer before.
- Go around as many times as you want to
- Cut the end of the straw at an angle to help hide the cut end
Put your hat together
- Glue the crown to the brim at the center and decorate however you want.
More Straw Hat Designs to Inspire You
Roxy Women’s Pina to My Colada Straw Sun Hat
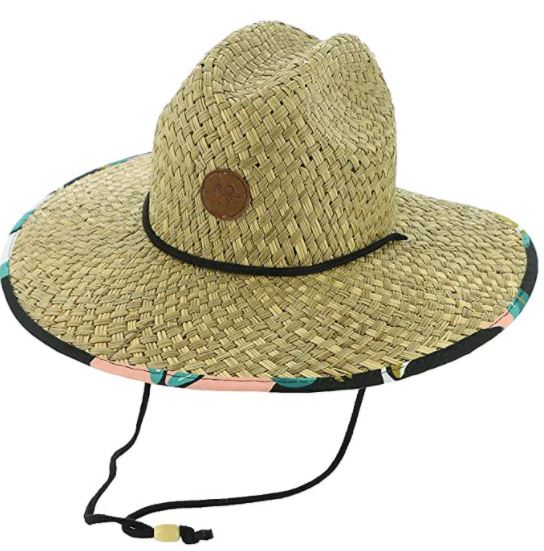
Highlights:
- 100% Straw
- Hand Wash Only
- Woven straw construction
- Adjustable chin strap
- Wide brim
Vienna Visor Sun Straw Beach Hat
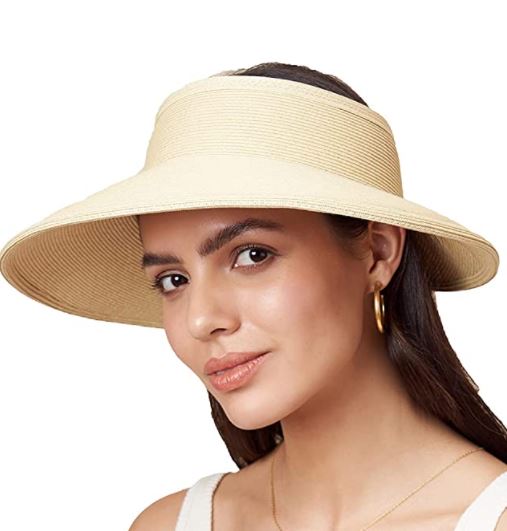
Highlights:
- Hook and Loop closure
- One size fits all
- Foldable and packable
Straw Visor Hats for Women

Highlights:
Do you like ponchos? Read about the different types of ponchos available for you.